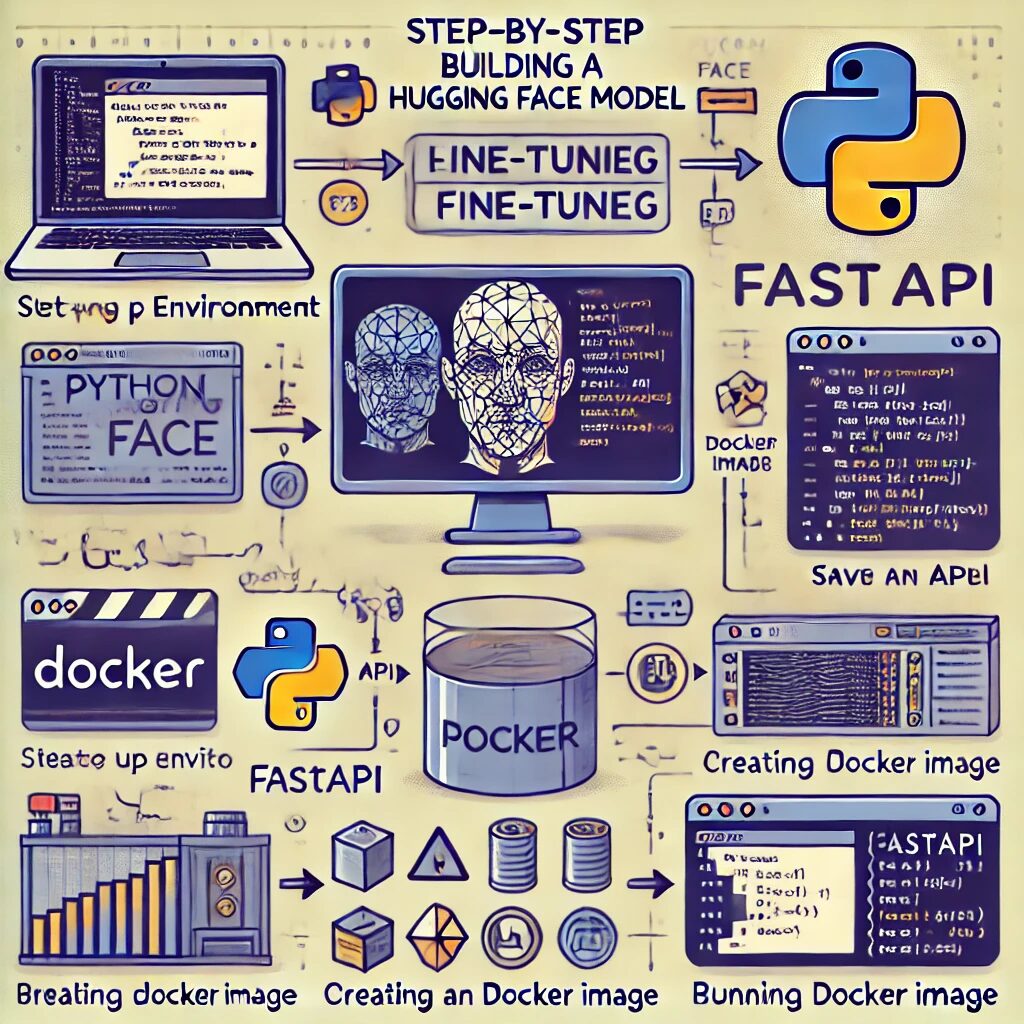
Objective
By the end of this lesson, you will be able to build and deploy a Hugging Face model for natural language processing (NLP) tasks using Docker. We’ll use Python and the Hugging Face Transformers library for building the model and Docker for deploying it.
Prerequisites
- Basic understanding of Python.
- Familiarity with machine learning concepts.
- An environment with Python 3.6+ installed.
- Docker installed on your system.
Step 1: Setting Up the Environment
- Create a virtual environment:
   python -m venv hf_env
source hf_env/bin/activate # On Windows use `hf_env\Scripts\activate`- Install necessary libraries:
   pip install transformers
   pip install torch  # If using PyTorch as the backend
   pip install tensorflow  # If using TensorFlow as the backend
   pip install datasets
   pip install fastapi
   pip install uvicorn[standard]
Step 2: Loading and Fine-Tuning a Pre-trained Model
- Choose a pre-trained model:
   from transformers import AutoModelForSequenceClassification, AutoTokenizer

   model_name = "distilbert-base-uncased-finetuned-sst-2-english"
   model = AutoModelForSequenceClassification.from_pretrained(model_name)
tokenizer = AutoTokenizer.from_pretrained(model_name)- Prepare the dataset:
   from datasets import load_dataset

dataset = load_dataset("imdb")- Tokenize the dataset:
   def tokenize_function(examples):
       return tokenizer(examples["text"], padding="max_length", truncation=True)

tokenized_datasets = dataset.map(tokenize_function, batched=True)- Fine-tune the model:
   from transformers import Trainer, TrainingArguments

   training_args = TrainingArguments(
       output_dir="./results",
       evaluation_strategy="epoch",
       learning_rate=2e-5,
       per_device_train_batch_size=16,
       per_device_eval_batch_size=16,
       num_train_epochs=3,
       weight_decay=0.01,
   )

   trainer = Trainer(
       model=model,
       args=training_args,
       train_dataset=tokenized_datasets["train"],
       eval_dataset=tokenized_datasets["test"],
   )

   trainer.train()
Step 3: Saving the Model
- Save the model and tokenizer:
   model.save_pretrained("./model")
   tokenizer.save_pretrained("./model")
Step 4: Creating an API with FastAPI
- Set up FastAPI:
   mkdir my_api
   cd my_api
touch main.py- Write the FastAPI code:
   from fastapi import FastAPI, Request
   from transformers import AutoModelForSequenceClassification, AutoTokenizer
   import torch

   app = FastAPI()

   model = AutoModelForSequenceClassification.from_pretrained("./model")
   tokenizer = AutoTokenizer.from_pretrained("./model")

   @app.post("/predict")
   async def predict(request: Request):
       input_data = await request.json()
       inputs = tokenizer(input_data['text'], return_tensors="pt", padding=True, truncation=True)
       with torch.no_grad():
           outputs = model(**inputs)
       predictions = torch.nn.functional.softmax(outputs.logits, dim=-1)
       return {"predictions": predictions.tolist()}
Step 5: Creating a Dockerfile
- Create a Dockerfile:
   # Use the official Python image from the Docker Hub
   FROM python:3.8-slim

   # Set the working directory
   WORKDIR /app

   # Copy the current directory contents into the container at /app
   COPY . /app

   # Install the necessary libraries
   RUN pip install --no-cache-dir transformers torch fastapi uvicorn[standard]

   # Expose the port the app runs on
   EXPOSE 8000

   # Run the application
CMD ["uvicorn", "main:app", "--host", "0.0.0.0", "--port", "8000"]- Build the Docker image:
docker build -t huggingface-api .- Run the Docker container:
docker run -p 8000:8000 huggingface-apiStep 6: Testing the API
- Send a request to the API:
   curl -X 'POST' \
     'http://127.0.0.1:8000/predict' \
     -H 'accept: application/json' \
     -H 'Content-Type: application/json' \
-d '{"text": "I love using Hugging Face models!"}'- Check the response:
The response should contain the prediction probabilities for the given input text.
Conclusion
In this lesson, we’ve walked through the steps to build and deploy a Hugging Face model using Docker. You learned how to set up your environment, fine-tune a pre-trained model, save it, create an API using FastAPI, containerize it with Docker, and test the deployed model.


