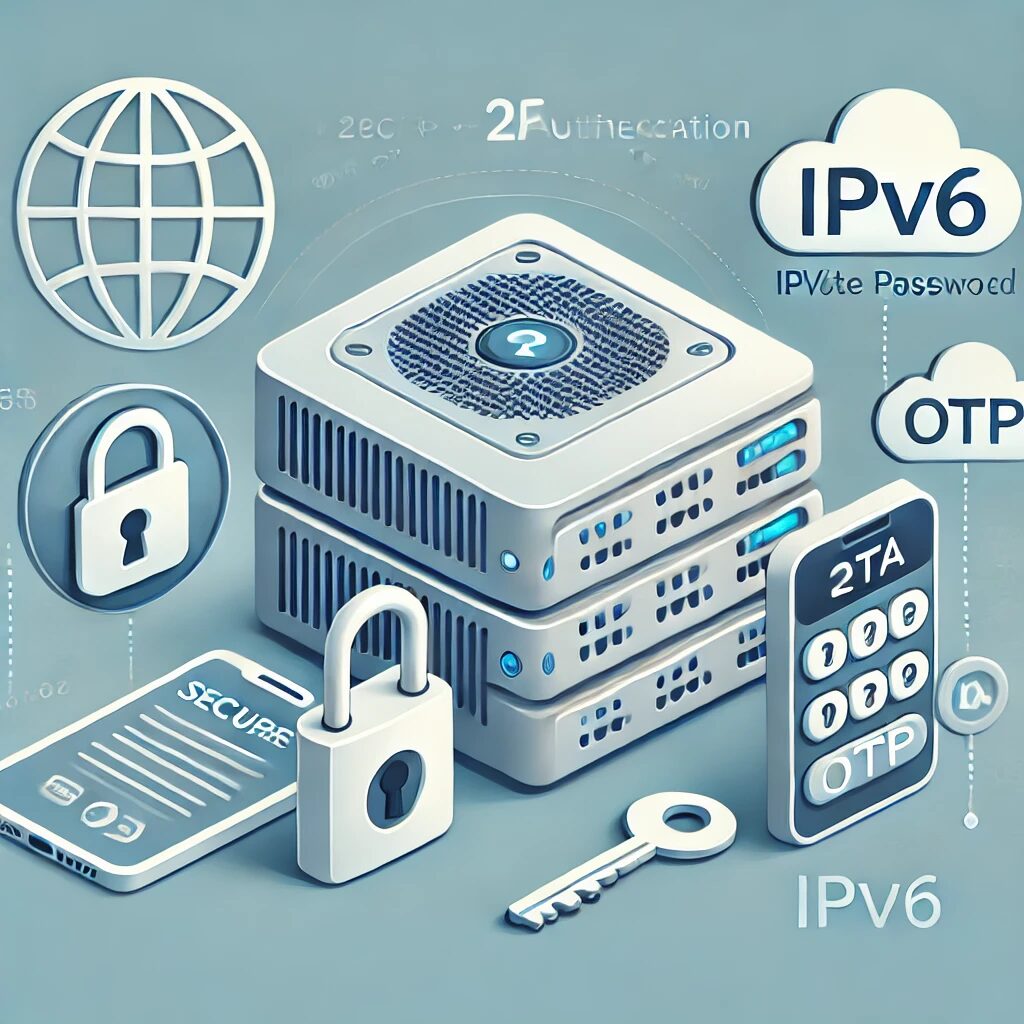
Objective:
To understand how to secure SSH access to a server by implementing Two-Factor Authentication (2FA) and restricting connections to IPv6 only.
Prerequisites:
- Basic knowledge of SSH and server administration.
- SSH keys already set up on your server.
- A TOTP app like Google Authenticator installed on your smartphone.
Introduction
Securing SSH access is critical for protecting your server from unauthorized access. By combining Two-Factor Authentication (2FA) with IPv6-only connections, you add multiple layers of security. This lesson will guide you through the setup process and explain why these measures are effective.
Why Use 2FA with SSH Key Authentication?
- Enhanced Security: Requires both your SSH key and a one-time password (OTP), making unauthorized access much harder.
- Protection Against Key Compromise: Even if someone steals your SSH key, they still need the OTP to access your server.
- Compliance: Many security standards require multi-factor authentication to safeguard sensitive information.
Why Restrict to IPv6 Only?
- Larger Address Space: IPv6 provides a significantly larger address space, reducing the chances of IP address spoofing.
- Inherent Security Features: IPv6 was designed with security in mind, including mandatory support for IPsec. NOTE: While IPsec support is mandatory, implementation is not.
- Reduced Attack Surface: By disabling IPv4, you minimize the number of potential entry points for attackers.
Step-by-Step Guide
Part 1: Setting Up 2FA with SSH Key Authentication
- Install Google Authenticator PAM Module On your server, install the Google Authenticator PAM module:
   sudo apt-get update
sudo apt-get install libpam-google-authenticator- Configure Google Authenticator Run the following command to set up Google Authenticator for your user:
google-authenticatorFollow the prompts to generate a QR code, which you can scan with your TOTP app, and to get backup codes.
- Edit PAM Configuration Edit the PAM configuration file to include the Google Authenticator module:
sudo nano /etc/pam.d/sshdAdd the following line at the top of the file:
auth required pam_google_authenticator.so- Configure SSH to Use Both Password and Key Authentication Edit the SSH daemon configuration file:
sudo nano /etc/ssh/sshd_configEnsure the following lines are set:
   ChallengeResponseAuthentication yes
   PasswordAuthentication yes
   UsePAM yes
Also, ensure the following line is commented out or set to no:
#PasswordAuthentication no- Restart SSH Service After making these changes, restart the SSH service:
sudo systemctl restart sshd- Test the Configuration Log out of the server and attempt to log back in. You should be prompted for your SSH key passphrase (if applicable) and then for the OTP from your authenticator app.
Part 2: Configuring SSH to Use IPv6 Only
- Configure SSH to Only Use IPv6 Edit the SSH daemon configuration file to listen only on IPv6 addresses:
sudo nano /etc/ssh/sshd_configFind and update the ListenAddress line:
   #ListenAddress 0.0.0.0
ListenAddress ::- Restart SSH Service Restart the SSH service to apply the changes:
sudo systemctl restart sshd- Configure Firewall to Allow Only IPv6 SSH Traffic Using
ufw(Uncomplicated Firewall):
- Disable IPv4 SSH Traffic:
sudo ufw deny proto tcp from any to any port 22 - Ensure
ufwSupports IPv6: Edit theufwconfiguration file:sudo nano /etc/default/ufwEnsure the following line is set:IPV6=yes - Allow IPv6 SSH Traffic:
sudo ufw allow from any to any port 22 proto tcp - Enable
ufw:sudo ufw enableUsingiptables: - Flush Existing Rules:
sudo iptables -F sudo ip6tables -F - Block IPv4 SSH Traffic:
sudo iptables -A INPUT -p tcp --dport 22 -j DROP - Allow IPv6 SSH Traffic:
sudo ip6tables -A INPUT -p tcp --dport 22 -j ACCEPT - Save the Configuration: For Ubuntu:
sudo netfilter-persistent saveOr for other systems:sudo iptables-save > /etc/iptables/rules.v4 sudo ip6tables-save > /etc/iptables/rules.v6
- Test the Configuration
- Verify SSH Listening Address:
sudo netstat -tuln | grep sshEnsure SSH is listening on::(IPv6) only. - Verify Firewall Rules:
sudo ufw statusOr for iptables:sudo iptables -L sudo ip6tables -L
Conclusion
By implementing Two-Factor Authentication and restricting SSH access to IPv6 only, you significantly increase the security of your server. These measures reduce the risk of unauthorized access, protect against key compromise, and utilize the inherent security features of IPv6. This multi-layered approach ensures a robust defense against potential threats.


