
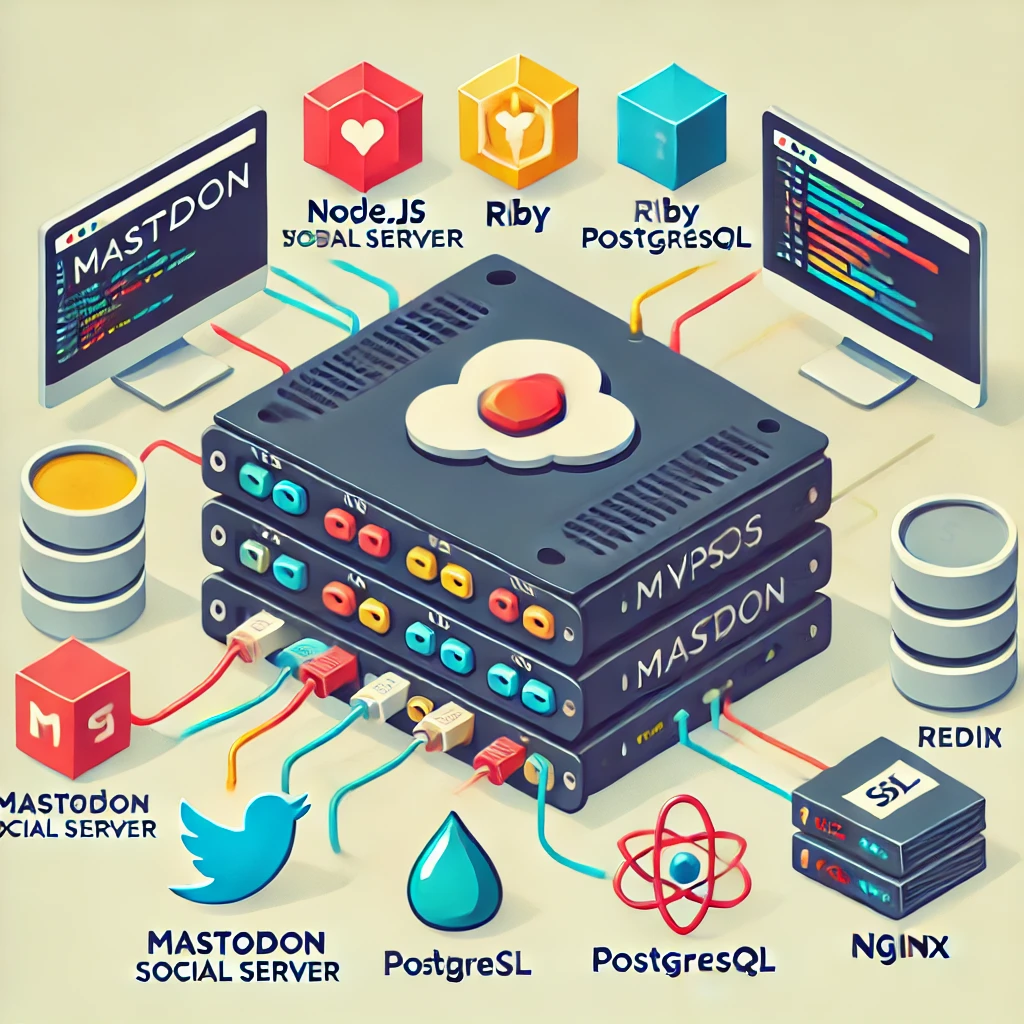
Installing a Mastodon Social server can seem daunting, but with the right guidance, even a novice Linux user can do it. Here’s a detailed, step-by-step guide to help you through the process:
Step 1: Preparing Your Server
- Choose a VPS Provider: Select a VPS (Virtual Private Server) provider. Some popular choices include DigitalOcean, Linode, and AWS. Ensure your VPS has at least 4GB of RAM, 2 CPU cores, and 20GB of storage.
- Access Your Server: Once you’ve set up your VPS, you’ll need to access it via SSH. Open a terminal on your local machine and connect to your VPS using the following command:
ssh root@your_server_ipStep 2: Setting Up the Basics
- Update Your Server: Before installing anything, update your package list and upgrade existing packages:
apt update && apt upgrade -y- Create a New User: For security reasons, create a new user (e.g.,
mastodon) and give them sudo privileges:
   adduser mastodon
usermod -aG sudo mastodon- Switch to the New User: Log out from the root account and log in as the new user:
su - mastodonStep 3: Install Dependencies
- Install Basic Tools: Install necessary tools and libraries:
sudo apt install git curl wget -y- Install Node.js: Install Node.js, which is required for Mastodon:
   curl -sL https://deb.nodesource.com/setup_14.x | sudo -E bash -
sudo apt install -y nodejs- Install Yarn: Yarn is a package manager for JavaScript:
npm install --global yarn- Install Ruby: Install Ruby and Bundler, which are needed for Mastodon:
   sudo apt install -y gnupg2
   gpg --keyserver hkp://keyserver.ubuntu.com:80 --recv-keys 409B6B1796C275462A1703113804BB82D39DC0E3
   \curl -sSL https://get.rvm.io | bash -s stable
   source ~/.rvm/scripts/rvm
   rvm install 3.0.2
   rvm use 3.0.2 --default
gem install bundler- Install PostgreSQL: Mastodon uses PostgreSQL as its database:
sudo apt install -y postgresql postgresql-contrib- Install Redis: Redis is used for caching and background job processing:
sudo apt install -y redis-server- Install Nginx: Nginx will serve as the web server:
sudo apt install -y nginxStep 4: Setting Up PostgreSQL
- Create a PostgreSQL User and Database:
   sudo -u postgres psql
   CREATE USER mastodon CREATEDB;
   \q
Step 5: Installing Mastodon
- Clone the Mastodon Repository:
   git clone https://github.com/tootsuite/mastodon.git live
cd live- Checkout the Latest Stable Release:
git checkout $(git tag | grep -v - | sort -V | tail -n 1)- Install Ruby Dependencies:
bundle install -j$(getconf _NPROCESSORS_ONLN) --deployment --without development test- Install JavaScript Dependencies:
yarn install --pure-lockfileStep 6: Configuring Mastodon
- Setup Environment Configuration:
   cp .env.production.sample .env.production
   nano .env.production
Edit the configuration file with your database details, domain, email server settings, and other relevant information.
- Precompile Assets:
RAILS_ENV=production bundle exec rails assets:precompileStep 7: Setting Up the Database
- Create and Migrate the Database:
RAILS_ENV=production bundle exec rails db:setupStep 8: Setting Up the Web Server
- Configure Nginx: Create an Nginx configuration file for Mastodon:
sudo nano /etc/nginx/sites-available/mastodonAdd the following configuration:
   server {
       listen 80;
       listen [::]:80;
       server_name your_domain;

       location / {
           proxy_pass http://127.0.0.1:3000;
           proxy_set_header Host $host;
           proxy_set_header X-Real-IP $remote_addr;
           proxy_set_header X-Forwarded-For $proxy_add_x_forwarded_for;
           proxy_set_header X-Forwarded-Proto $scheme;
       }

       location /api/v1/streaming {
           proxy_pass http://127.0.0.1:4000;
           proxy_set_header Host $host;
           proxy_set_header X-Real-IP $remote_addr;
           proxy_set_header X-Forwarded-For $proxy_add_x_forwarded_for;
           proxy_set_header X-Forwarded-Proto $scheme;
       }
}- Enable the Configuration and Restart Nginx:
   sudo ln -s /etc/nginx/sites-available/mastodon /etc/nginx/sites-enabled/mastodon
   sudo systemctl restart nginx
Step 9: Running Mastodon
- Set Up Systemd Services: Create systemd service files for Mastodon:
sudo nano /etc/systemd/system/mastodon-web.serviceAdd the following content:
   [Unit]
   Description=Mastodon web
   After=network.target

   [Service]
   Type=simple
   User=mastodon
   Environment="RAILS_ENV=production"
   WorkingDirectory=/home/mastodon/live
   ExecStart=/usr/local/bin/bundle exec rails s -b 127.0.0.1 -p 3000
   Restart=always

   [Install]
WantedBy=multi-user.target- Create Service for Streaming:
sudo nano /etc/systemd/system/mastodon-streaming.serviceAdd the following content:
   [Unit]
   Description=Mastodon streaming
   After=network.target

   [Service]
   Type=simple
   User=mastodon
   Environment="NODE_ENV=production"
   WorkingDirectory=/home/mastodon/live
   ExecStart=/usr/local/bin/npm run start
   Restart=always

   [Install]
WantedBy=multi-user.target- Create Service for Sidekiq:
sudo nano /etc/systemd/system/mastodon-sidekiq.serviceAdd the following content:
   [Unit]
   Description=Mastodon sidekiq
   After=network.target

   [Service]
   Type=simple
   User=mastodon
   Environment="RAILS_ENV=production"
   WorkingDirectory=/home/mastodon/live
   ExecStart=/usr/local/bin/bundle exec sidekiq
   Restart=always

   [Install]
WantedBy=multi-user.target- Start and Enable Services:
   sudo systemctl daemon-reload
   sudo systemctl enable mastodon-web mastodon-streaming mastodon-sidekiq
   sudo systemctl start mastodon-web mastodon-streaming mastodon-sidekiq
Step 10: Securing Your Installation
- Obtain an SSL Certificate: Use Certbot to obtain a free SSL certificate:
   sudo apt install certbot python3-certbot-nginx
sudo certbot --nginx -d your_domain- Renew SSL Certificate Automatically:
sudo certbot renew --dry-runStep 11: Final Checks
- Access Your Mastodon Instance: Open your web browser and navigate to
https://your_domain. You should see the Mastodon setup screen. - Create Your Admin Account: Follow the on-screen instructions to create your admin account and finalize the setup.
Troubleshooting
- Check Logs: If something goes wrong, check the logs for errors:
   journalctl -u mastodon-web
   journalctl -u mastodon-streaming
journalctl -u mastodon-sidekiq- Fix Common Issues: If you encounter permission issues, ensure that all files and directories are owned by the
mastodonuser. If the web server isn’t responding, double-check your Nginx configuration.
By following these steps carefully, you should have a fully functioning Mastodon Social server. Remember, each step builds on the previous one, so take your time and double-check your work.


