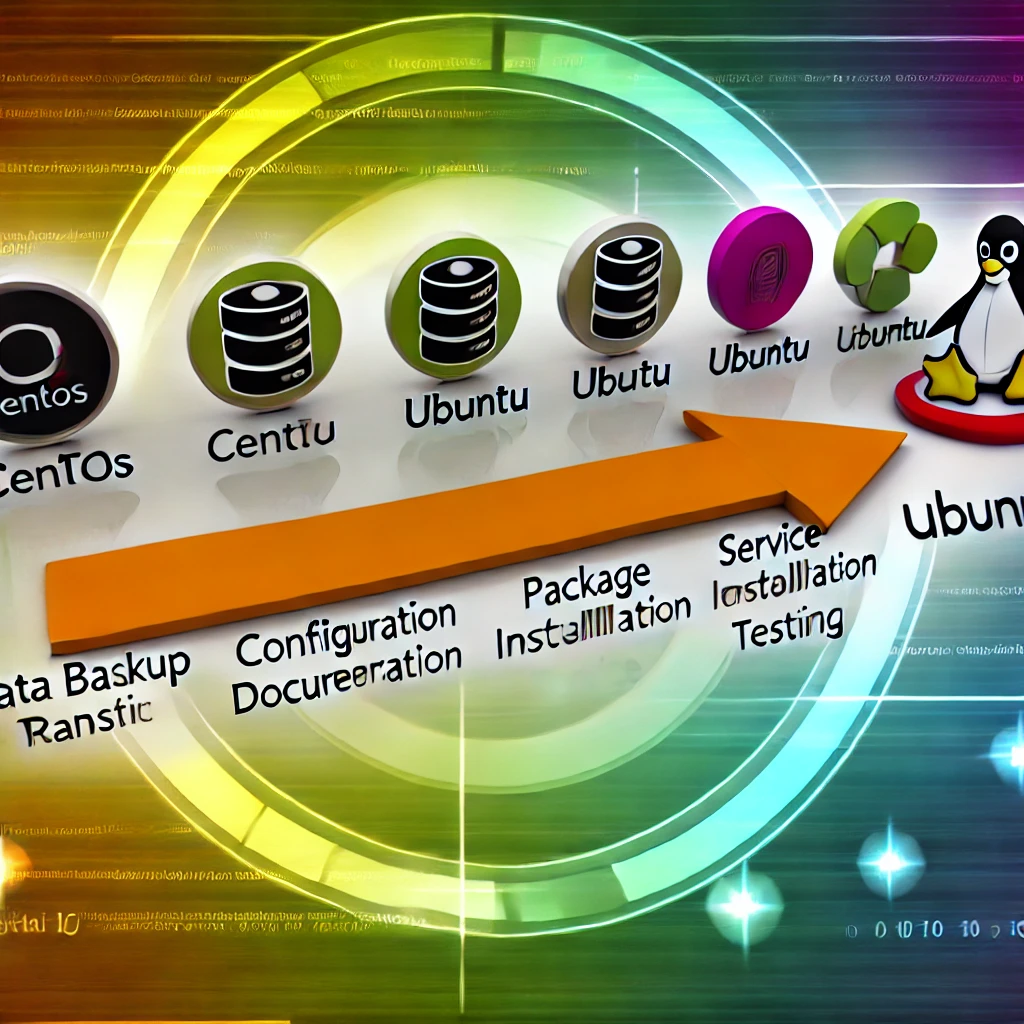
Migrating from CentOS to Ubuntu can seem daunting, but with a systematic approach, you can make the transition smooth and seamless. This guide will walk you through the essential steps required to migrate your server from CentOS to Ubuntu.
Step 1: Preparation
1.1. Backup Your Data
Before making any changes, ensure that all your critical data is backed up. Use tools like rsync or tar to create a backup of your important files and databases.
rsync -av /path/to/important/files /path/to/backup/location
1.2. Document Your Configuration
Document all configurations and settings of your CentOS system, including network settings, installed packages, and custom configurations.
Step 2: Setting Up the New Ubuntu Server
2.1. Download and Install Ubuntu
Download the latest Ubuntu Server ISO from the official website. Create a bootable USB drive or mount the ISO if you’re using a virtual machine. Follow the installation prompts to install Ubuntu.
2.2. Update and Upgrade the System
Once the installation is complete, update and upgrade your new Ubuntu system to ensure you have the latest packages.
sudo apt update
sudo apt upgrade -y
Step 3: Transferring Data
3.1. Copy Data to the New Server
Use rsync to transfer your backed-up data from the CentOS server to the Ubuntu server.
rsync -av /path/to/backup/location user@ubuntu_server:/path/to/destination
3.2. Restore Databases
If you have databases, use tools like mysqldump to export them from CentOS and import them into Ubuntu.
# On CentOS (export database)
mysqldump -u root -p database_name > database_name.sql

# On Ubuntu (import database)
mysql -u root -p database_name < database_name.sql
Step 4: Reconfiguring Services
4.1. Install Necessary Packages
Install all necessary packages and services on the Ubuntu server that were previously running on CentOS.
sudo apt install package_name
4.2. Migrate Configuration Files
Copy your documented configuration files to the appropriate locations on the Ubuntu server. Ensure the syntax and paths are compatible with Ubuntu.
4.3. Start and Enable Services
Start and enable the services to ensure they run at boot.
sudo systemctl start service_name
sudo systemctl enable service_name
Step 5: Testing and Validation
5.1. Verify Services
Ensure that all services are running correctly on the Ubuntu server. Check the status of each service.
sudo systemctl status service_name
5.2. Check Logs
Review the system logs to identify any issues or errors.
sudo journalctl -xe
Step 6: Final Steps
6.1. Update DNS Settings
Update your DNS settings to point to the new Ubuntu server IP address.
6.2. Clean Up
After ensuring everything is working correctly, clean up any temporary files or backups that are no longer needed.
Conclusion
Migrating from CentOS to Ubuntu requires careful planning and execution. By following this guide, you can ensure a smooth transition with minimal downtime. Remember to test thoroughly and have a rollback plan in case anything goes wrong. Good luck with your migration!


