
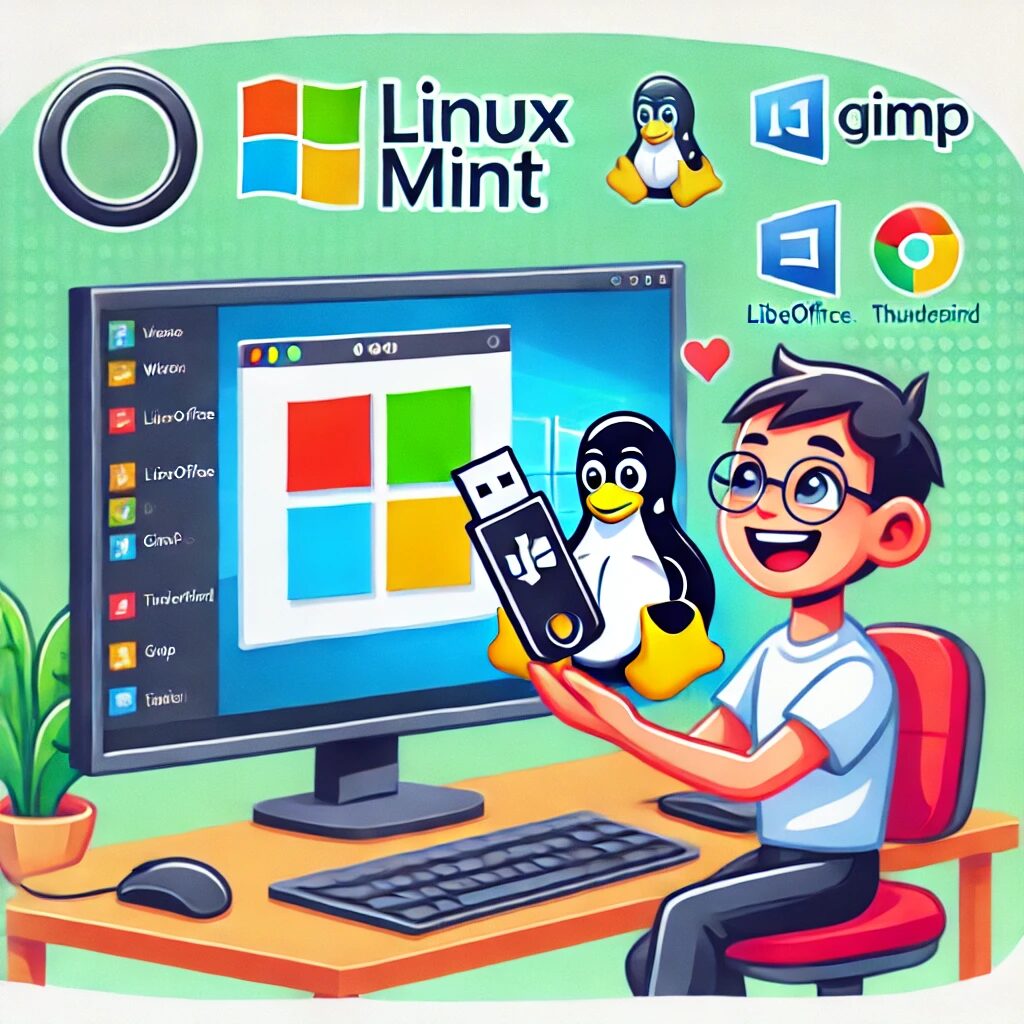
Are you tired of dealing with Windows and considering switching to Linux Mint, a popular and user-friendly alternative? This comprehensive guide will walk you through the process of replacing Windows with Linux Mint on your workstation. We’ll cover everything from installation to migrating your files and browser settings. Let’s get started!
Why Choose Linux Mint?
Linux Mint is renowned for its ease of use, stability, and robust community support. It’s an excellent choice for beginners looking for a smooth transition from Windows.
Prerequisites
Before we begin, make sure you have:
- A computer with Windows installed
- A USB flash drive (8 GB or larger)
- An internet connection
- A backup of your important files
Step 1: Download Linux Mint
- Visit the Linux Mint Website: Go to Linux Mint’s official website and navigate to the download section.
- Choose Your Edition: Select the edition you prefer (Cinnamon, MATE, or Xfce). Cinnamon is recommended for newcomers.
- Download the ISO File: Click on the download link to get the ISO file.
Step 2: Create a Bootable USB Drive
- Download Etcher: Visit Etcher’s website and download the software to create a bootable USB drive.
- Install Etcher: Follow the installation instructions for your operating system.
- Create the Bootable USB:
- Open Etcher.
- Select the Linux Mint ISO file.
- Choose your USB drive.
- Click on “Flash” to create the bootable USB.
Step 3: Backup Your Files
Before proceeding with the installation, ensure that you back up all important files. Use an external hard drive, cloud storage, or another backup solution.
Step 4: Boot from the USB Drive
- Insert the USB Drive: Plug the bootable USB drive into your computer.
- Restart Your Computer: Reboot and enter the BIOS/UEFI settings (usually by pressing F2, F12, DEL, or ESC during startup).
- Change Boot Order: Set the USB drive as the primary boot device.
- Save and Exit: Save the changes and restart your computer. It should boot from the USB drive into the Linux Mint live environment.
Step 5: Install Linux Mint
- Start the Installation: In the live environment, double-click on the “Install Linux Mint” icon.
- Choose Your Language: Select your preferred language and click “Continue.”
- Prepare Installation:
- Select “Install third-party software for graphics and Wi-Fi hardware” if necessary.
- Click “Continue.”
- Installation Type:
- Choose “Erase disk and install Linux Mint” to replace Windows entirely.
- Click “Install Now” and confirm your decision.
- Time Zone and Keyboard Layout: Choose your time zone and keyboard layout.
- User Information: Enter your name, computer name, username, and password.
- Finish Installation: Click “Continue” and let the installation complete. Once done, restart your computer and remove the USB drive.
Step 6: Set Up Linux Mint
- Initial Setup: Follow the initial setup wizard to configure basic settings.
- Update Your System: Open the Update Manager and install all available updates.
Step 7: Install Productivity Software
- LibreOffice: Pre-installed in Linux Mint for all your office needs (Word, Excel, PowerPoint equivalent).
- GIMP: Powerful image editor available in the Software Manager.
- Thunderbird: Email client that comes pre-installed.
Step 8: Migrate Your Files
- Transfer Files from Backup: Connect your backup drive and copy your files to the appropriate directories (Documents, Pictures, etc.).
- Windows Documents: If you have files stored in Windows-specific formats, LibreOffice can open and edit most of them.
Step 9: Migrate Browser Settings
- Install Your Browser: Firefox comes pre-installed, but you can install Google Chrome or any other browser via the Software Manager.
- Export Bookmarks and Settings from Windows:
- Open your browser on Windows.
- Go to Settings > Bookmarks > Export Bookmarks.
- Save the file to your backup drive.
- Import Bookmarks and Settings to Linux:
- Open the browser on Linux Mint.
- Go to Settings > Bookmarks > Import Bookmarks.
- Select the file from your backup drive.
Step 10: Explore and Customize
- Explore Software Manager: Discover a wide range of applications available for Linux Mint.
- Customize Appearance: Go to System Settings > Themes to personalize your desktop environment.
Conclusion
Congratulations! You’ve successfully replaced Windows with Linux Mint and set up a fully functional workstation with all your files and settings migrated. Enjoy the freedom and flexibility that Linux Mint offers. If you have any questions or need further assistance, the Linux Mint community is always there to help.


